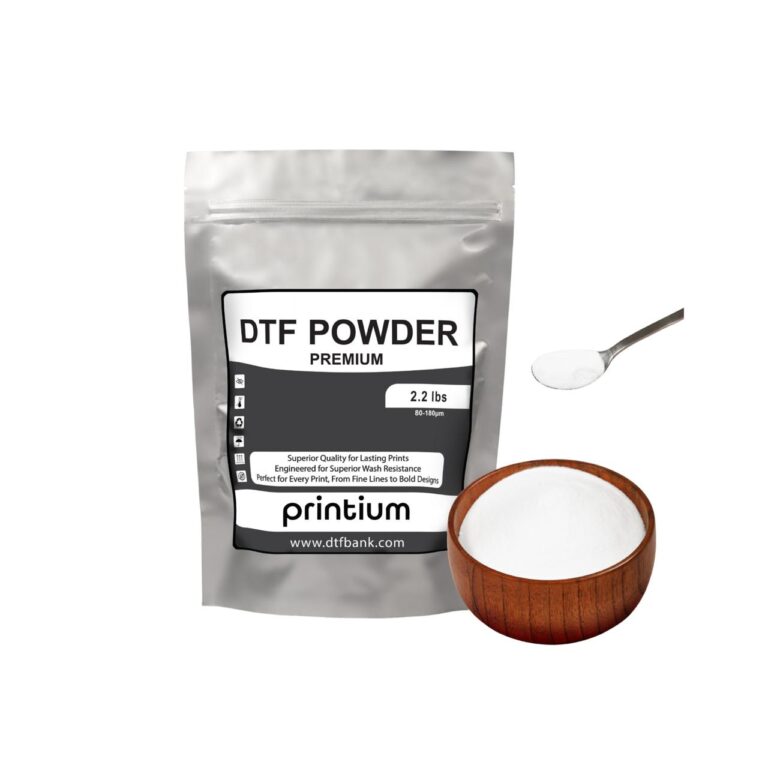
Direct-to-Film (DTF) printing has revolutionized fabric printing by offering vibrant and long-lasting designs. A key component of this process is DTF powder, which ensures the adhesion of the design to the fabric. In this article, we’ll explain what DTF powder is and provide a step-by-step guide on how to use it for successful printing.
What is DTF Powder?
DTF powder is a thermoplastic adhesive used in the DTF printing process. When applied to a printed film, it creates a strong bond between the ink and fabric. This ensures the durability of the print, making it resistant to washing and wear over time.
The powder is applied to the wet ink on the printed film and is then cured to form a glue-like layer. This makes it an essential element for achieving high-quality results in DTF printing.
Tools and Materials You’ll Need
Before starting, gather the following materials:
- DTF Printer: A specialized printer for printing designs on DTF film.
- DTF Film: Transparent film for printing your designs.
- DTF Powder: Thermoplastic powder for adhesion.
- Heat Press Machine: For transferring the design onto fabric.
- Curing Device: This could be a curing oven or heat gun for melting the powder.
Step-by-Step Guide to Using DTF Powder
1. Prepare Your Design
Start by creating your design using graphic design software like Adobe Photoshop or CorelDRAW. Make sure your design is in a compatible format for your DTF printer.
2. Print the Design on DTF Film
- Load the DTF film into your printer.
- Print the design on the film, ensuring a layer of CMYK (colored ink) is followed by a white ink layer.
- The white layer acts as a base and ensures the colors appear vibrant when transferred to fabric.
3. Apply DTF Powder
- While the printed ink is still wet, sprinkle DTF transfer premium powder generously over the design.
- Gently shake the film to remove excess powder, ensuring the adhesive sticks only to the printed areas.
4. Cure the Powder
Curing is an essential step that ensures the powder adheres properly to the ink. You can cure the powder in two ways:
- Using a Heat Press: Hover the heat press above the film (without direct contact) at 160–180°C for 2 minutes.
- Using a Curing Oven: Place the film inside a curing oven at the recommended temperature until the powder melts into a smooth, glossy finish.
5. Transfer the Design to Fabric
- Position the cured film on the fabric with the printed side facing down.
- Use the heat press to apply pressure and heat (typically 140°C for 15 seconds).
6. Peel the Film
Once the fabric has cooled, peel off the DTF film gently. This step reveals your vibrant design securely bonded to the fabric.
Tips for Best Results
- Even Powder Application: Ensure the powder is evenly distributed to avoid patchy adhesion.
- Proper Curing: Curing the powder correctly is crucial for long-lasting prints. A glossy finish indicates it’s ready.
- Work in a Dust-Free Environment: This prevents dust from settling on the film during the curing process.
Safety Precautions
- Protective Gear: Wear gloves to avoid direct contact with DTF powder and equipment.
- Ventilation: Work in a well-ventilated area to avoid inhaling fumes during the curing process.
Conclusion
Using DTF powder is a simple yet vital step in achieving high-quality, durable prints with the DTF printing process. By following the outlined steps and tips, you can create professional-grade designs that last. Whether you’re customizing t-shirts or experimenting with other fabrics, mastering the use of DTF powder will help you achieve outstanding results in your printing projects.

